Thursday, June 27, 2024

Seize the Birthday - Add a Star

 Hello friends.  It is time for our new challenge at Seize the Birthday and Cathy would like to see a star(s) on our birthday cards. Remember, it is our"Topping" option and the only requirement is that it has to be for a birthday.


For my card I used an older SU EF called Star Crossed.  You can see all the little stars embossed on the lt. blue panel.  The cake and sentiment are from an older SU set - Happy Birthday to You.  I colored the flowers with SU Flirty Flamingo & Granny Apple Green Blends, with a touch of yellow on the flower centers.  I used a lt. gray Copic to accent the cake frosting and a darker gray for the cake stand.  After coloring the image, I die cut it with the matching die and then mounted the sentiment and the cake with foam tape.

Be sure to check out all the "starry" cards by the team and our party guests over at Seize the Birthday.  Hope to see you in our gallery.

Thanks for stopping by.  Have a wonderful day.

Happy Stamping,
JoAnn
 

Monday, June 24, 2024

Happy Anniversary Card

 Hello friends.  I am sharing an anniversary card I made for my daughter and son-in-law.  I was inspired by the colors of the Mood Board at Just Us Girls Challenge.

The color in the middle photo of the bottom row was what caught my eye and I thought the rays shooting up reminded me of the branches of this Fine Floral Stem by Simon Says Stamp.  I die cut the image from white card and sponged Peeled Paint DOI on the stems and Peacock Feathers DOI to the centers of each flower layer. I then glued the flower layers together and added gold fancy rhinestones to the center of each flower.  I embossed a light blue panel with Spellbinders Diamond Plaid EF and mounted it to my white card base.  I then mounted the flowers with foam tape and glued the stem down.  The sentiment is an older one from Verve Stamps.  I mounted it with foam tape across the bottom of the stem.

I will also link to Darnell's NBUS as this is the first time I have used this die set.
Grab our badge to display on your blog. 
 
Thanks so much for stopping by.  Have a wonderful day.
 
Happy Stamping,
JoAnn

Wednesday, June 19, 2024

Let's Celebrate You for JUGS

 Hello friends. I am sharing a card I made for the JUGS challenge -Word Week #731 - Celebrate.


 I used Pinkfresh Studio Blooming Branch Stamp, Stencils & die for the pretty blooms.  After stamping them in black ink, I used the stencils and PFS Chasing Sunsets ink cubes to blend ink on the flowers. The leaves are done with SU Wild Wasabi ink (ret.).  I also lightly blended one of the ink cubes, Mimosa, on the card base and then attached Altenew Trellis die cut over it.  I die cut the flowers and mounted them with foam tape over the trellis panel.  The sentiment is from Simon Says Stamp Sweet Birthday, stamped in Mimosa ink and mounted with foam tape on the right side and glued over the edge of the flowers.
 
 Please share our badge!

Thanks so much for stopping by.  Have a wonderful day.

Happy Stamping,
JoAnn


Sunday, June 16, 2024

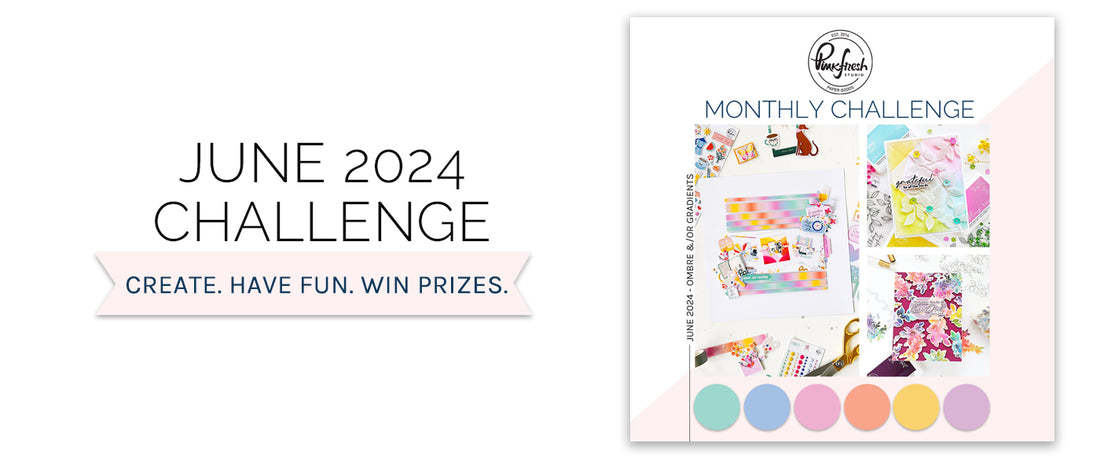
Birthday card for Pinkfresh Studio's June Challenge

 Hello friends.  I have another birthday card to share today.  I made this one with new Pinkfresh Studio Be Fearless Stamps, dies, and stencils.

I stamped the images in black ink and used the stencils to blend Pretty in Pink, Flirty Flamingo & Regal Rose inks over the flowers.  I only used Wild Wasabi ink for the 2 layers of leaves and the 2nd layer made the darker areas.  I cut a white panel and taped off the left edge and then blend the 3 pink inks over the section for the gradient look.  I really like how this makes the flowers pop with the same colors.
I had a little smudge when removing the tape so I stamped the sentiment on an oval die cut mounted it with foam tape over the smudge.  The flowers are arranged around the sentiment and mounted with foam tape also.  I really love the finished card.

June 2024 Challenge 
 
and Darnell's NBUS as this is the first time I have used this set. 
Grab our badge to display on your blog. 
 
Thanks so much for stopping by.  Have a wonderful day.
 
Happy Stamping,
JoAnn

Thursday, June 13, 2024

Happy Birthday to You

 Hello friends.  It is time for a new challenge at Seize the Birthday and Barbara wants us to use double stenciling on our cards.  For Double Stenciling, she would like us to use a stencil and before you pick it up, place another one over the top and fill in it. not just use two stencils but to double stencil.  Here is the link to a video explaining the technique.


and here is my card using this technique.

 I used my new Pinkfresh Studio's Magnolias Stamp, die, and stencils.  The stamps and dies are all grouped together so you stamp them all at once. I stamped mine with Memento Tuxedo Black ink and then used the stencil to blend SU Blushing Bride ink over the flowers, then I placed Tim Holtz Dot Fade stencil over that stencil and blended SU Melon Mambo ink over it.  After lifting the 2 stencils,  I added a little Regal Rose (ret.) ink with the 2nd flower layer.  For the leaves I blended SU Wild Wasabi ink (ret.) over the leaves and then placed the Dot Fade stencil over them and used the same ink for the dots.  I die cut the images and arranged them, with foam tape, on a pale blue panel embossed with Taylored Expressions Brick EF, and then to the white card base.  The sentiment is from Penny Black Super Day stamp set and it is mounted with foam tape also.

Be sure to check out all the fabulous stenciled cards by the team and our Guest Designers over at Seize the Birthday.  Hope you will try this fun technique.

Thanks so much for stopping by.  Have a wonderful day.

Happy Stamping,
JoAnn

Sunday, June 9, 2024

Happy Birthday for Two Challenges

 Hello friends.  I have a birthday card to share today.  I made this one with two challenges in mind - Color Hues (Blue & Yellow) and The Flower Challenge - Sketch.


I used SU Pacific Point for the center panel and embossed it with one of SU new Fun Patterns EF.  I gently dragged my white ink pad across the embossing so it would show up better and I like the added dimension.  I then added 2 narrow strips of black card to the back and mounted it to my card base.  The flowers from SU Happiness Abounds (ret.) was stamped in Memento black ink and colored with SU Daffodil Delight blends.  I added a black enamel dot to the center of the large flower, and then mounted them with foam tape.  I added 3 white die cut leaves from SU Cottage Rose (ret.).  The sentiment is also from the Cottage Rose set -  I angled the ends and added foam tape to the right side and glue to the left side over the flower.  I really like the finished card, it will be going to a good friend at church.


Thanks so much for stopping by.  Have a wonderful day.
 
Happy Stamping,
JoAnn

Thursday, June 6, 2024

Magnolia Birthday Card

 Hello friends.  I recently received this Pinkfresh Studio Magnolias stamp & die set and couldn't wait to play with it.  

I stamped the images in Memento Tuxedo Black ink and colored them with Copics.  I cut them out with the matching die and arranged them how I wanted them.  I taped them together on the backs and mounted them with foam tape to a stenciled panel I had lightly stenciled with DOI Frayed Burlap and a SU Mask.  The sentiment is from an older SU set and I mounted it with foam tape also.  I mounted the panel to my card base and it was done.  I really like the finished card.

I am linking to Pinkfresh Studio June Challenge - ombre or gradient.  I hope the gradient colors of the pinks on the magnolias count.
June 2024 Challenge 
 
and to the Triple B Challenge - Birds, Blooms, Butterflies. 
Please share our badge!
 
also to Darnell's NBUS Challenge as this is the first time using the magnolias set.
Grab our badge to display on your blog.
 
 
Thanks so much for stopping by.  Have a wonderful day.
 
Happy Stamping,
JoAnn


Tuesday, June 4, 2024

Happy Birthday to You

 Hello friends.  I have a birthday card to share today.  I made this one for Just Us Girls Challenge.


I chose to copy Carol's lovely card.
 
I love the way she arranged her flower elements on the edge of the circle and added a die cut bow.
I had these flowers from SU Decorative Borders (ret.) on my table from a previous project so decided to use them. They are colored with SU Calypso Coral and Granny Apple Green Blends.  I die cut the white bow from SU Stitched Blooms (ret.) and the circle is die cut from a new set, SU Spotlight on Nature.  I mounted the circle with foam tape to a white panel cut with Concord & 9th Basket Weave Card Front die.   The flowers were partially glued to the edge of the circle and I added bits of foam tape on the ends off the circle.  The sentiment is from Penny Black Super Day set.

Thanks so much for stopping by.  Have a wonderful day.

Happy Stamping,
JoAnn